
To set up WordPress locally for fast website building, one should start by choosing software like Local by Flywheel or XAMPP. After installation, create a new WordPress site and configure the web server and database. Download the latest WordPress files and place them in the server’s document root. Initiate the installation via the local site URL, inputting necessary information like language, site title, and database details. This process provides a robust testing environment that enhances development efficiency. Learn more about optimizing your local setup.
Setting up WordPress locally can be an exciting journey, especially for those enthusiastic to plunge into web development or refine their skills. The first step involves choosing a local development software, such as Local by Flywheel, XAMPP, MAMP, or Docker. After selecting a tool, one should download its installer from the official website and run it, guaranteeing that all necessary dependencies are installed. Following the on-screen prompts and granting the required permissions will complete the installation process.
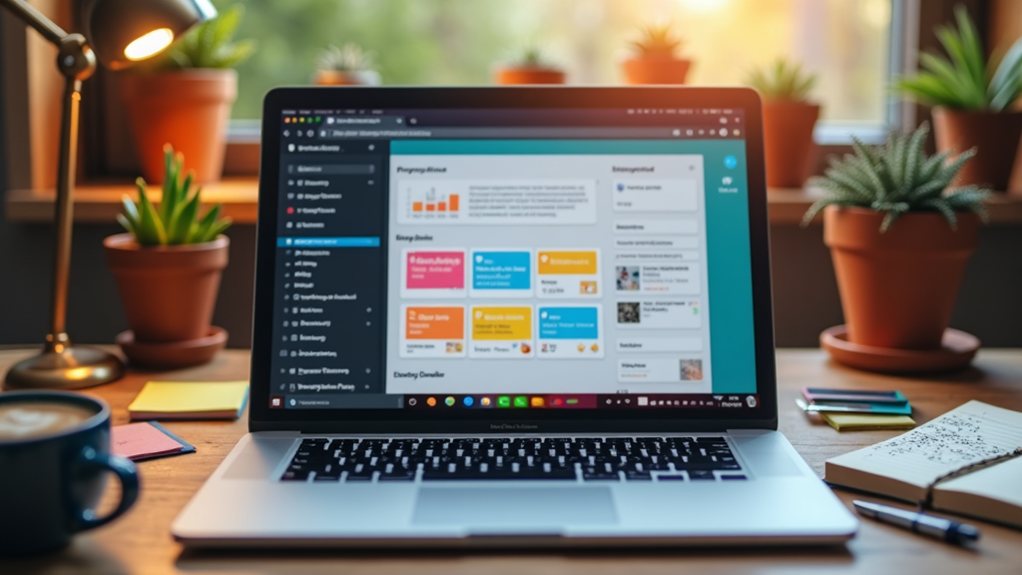
Once launched, the local development environment provides a dashboard or command-line interface (CLI) to create WordPress sites. Local sites can be stored on a personal computer, making them inaccessible to the public. This setup creates a safe testing environment for building and testing WordPress sites without risking live site functionality. Additionally, having a reliable hosting provider is crucial when transitioning to a live environment.
Next, setting up a local web server and database is vital. Using the chosen software, one can start the web server (usually Apache or Nginx) and access the bundled MySQL or MariaDB database service to create a new database specifically for WordPress. Assigning a database name, username, and password is essential, as it guarantees the database server runs smoothly on localhost with the correct default port settings. This setup is fundamental to avoid access issues during the installation phase.
With the server and database in place, the next step is to download and configure the WordPress core files. Obtaining the latest package from wordpress.org or utilizing a Docker image is straightforward. Extracting the WordPress files into the local server’s document root folder, like htdocs, will make them accessible. Guaranteeing correct file ownership and permissions enables easy editing.
To initiate the WordPress installation process, one simply navigates to the local site URL, completing the installation wizard by inputting language preferences, site title, and admin credentials. Connecting the database details created earlier guarantees seamless operation.
Finally, customizing development preferences, enabling error displays for debugging, and testing functionality across browsers solidify the local setup. Through this engaging process, anyone can master WordPress locally, paving the way for faster and more efficient website building.
Frequently Asked Questions
Can I Use WordPress Locally Without an Internet Connection?
Yes, WordPress can be used locally without an internet connection.
By setting up a local server environment using tools like XAMPP, WAMP, or MAMP, users can create and manage content offline.
This setup allows for editing posts, managing media, and testing website features without any online interruptions.
When ready, users can easily publish their work online, ensuring a smooth shift from offline development to a live website experience.
What Are the System Requirements for Local WordPress Installation?
To install WordPress locally, certain system requirements must be met.
A minimum of 512 MB RAM is critical, but 1 GB or more is ideal for better performance. A CPU speed of at least 1.0 GHz is recommended.
Additionally, users need at least 1 GB of disk space, with more required as the site expands.
Compatibility with operating systems like Windows, macOS, and Linux guarantees flexibility in setting up a local development environment.
How Do I Migrate My Local WordPress Site to a Live Server?
To migrate a local WordPress site to a live server, one must first back up all files and the database.
Then, export the database using phpMyAdmin and upload the WordPress files via FTP.
Next, import the database into a new, empty database on the live server.
Finally, update the wp-config.php file with live server details and adjust the site URL in the database to guarantee a smooth changeover.
Testing is essential after migration.
Can I Use Plugins and Themes in a Local WordPress Setup?
Yes, plugins and themes can be used in a local WordPress setup just like on a live site. They maintain compatibility with the local WordPress core version, guaranteeing features work properly.
This environment allows for the testing of plugins and themes without impacting the live website, making it easier to identify and resolve any issues.
Additionally, updates can be managed locally, allowing developers to confirm stability before deployment to the production site.
Is It Safe to Test Updates on a Local WordPress Site?
Testing updates on a local WordPress site is indeed safe and highly recommended.
This isolated environment prevents any impact on live site data or user experiences while allowing developers to experiment freely. It reduces risks of downtime and broken features that can occur with direct updates.
Additionally, local testing enables thorough debugging and the trial of new plugins or themes, ensuring functionality without exposing live sites to potential vulnerabilities or errors.